eOne Solutions has created many templates that can be imported directly into SmartList Builder.
Here is a link: https://www.eonesolutions.com/smartlist-builder/downloads/#Templates
Click on the link and open and save the templates:
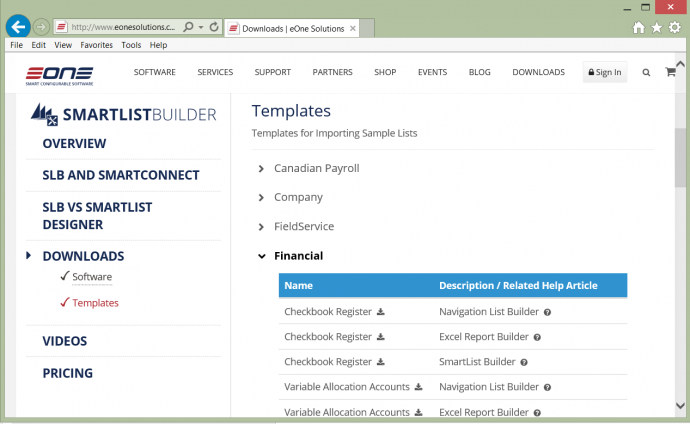
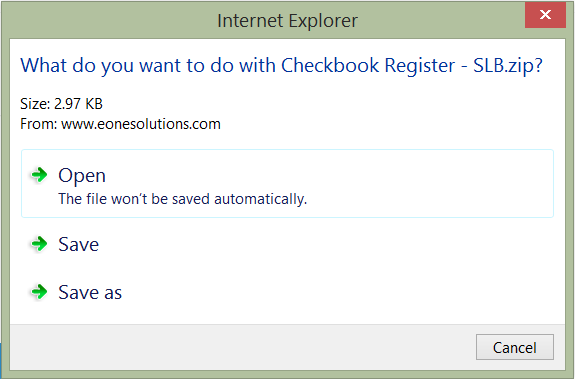
Save the file.
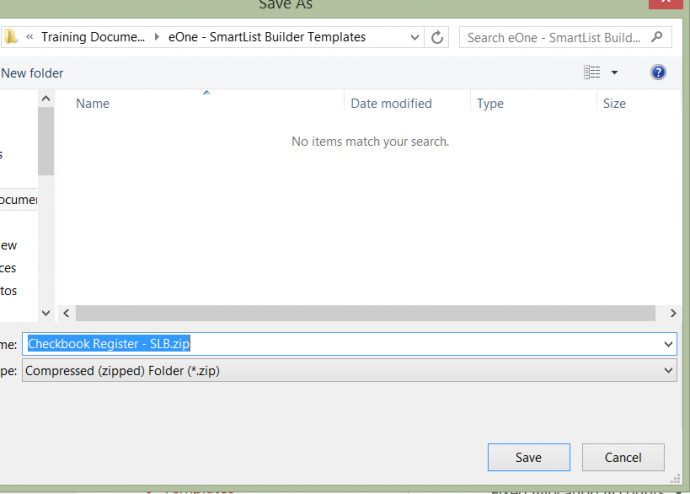
Extracting Zip Files
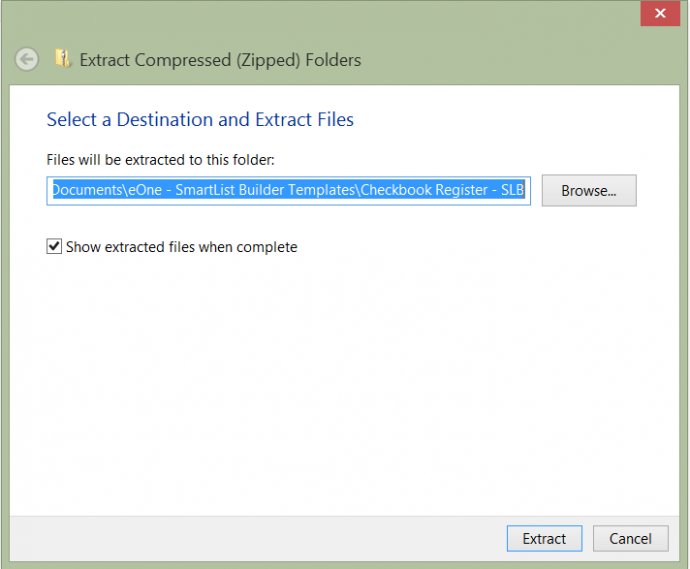
After downloading the templates, you can import them into SmartList Builder where they can be edited. Before the templates above can be imported, the files must be “Extracted” this is done by right clicking on the downloaded folders and clicking “Extract All”. After extracting the reports, you can delete the “.zip” files.
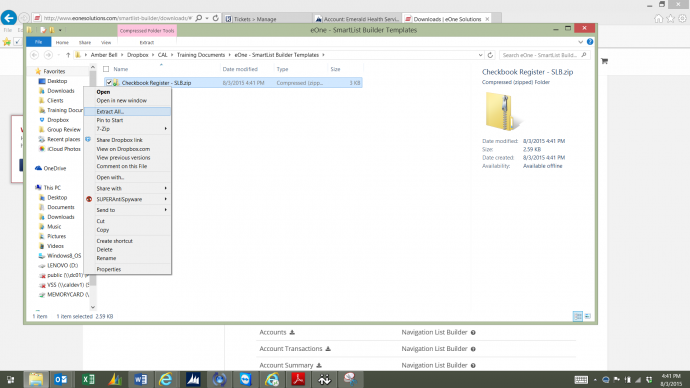
If you get a message that the folder is empty, it means the download failed. Download it again and replace the file. You can then hit “Extract All” again. If you are using another program for Zipped files, your screens will look different.
Importing SmartList Builder Templates
- Log into GP. You will need to have SmartList Builder installed and registered and security to SmartList Builder.
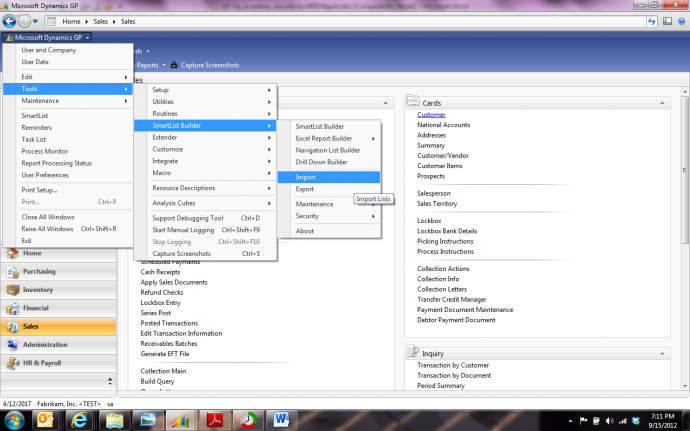
- Click: Microsoft Dynamics GP>>Tools>>SmartList Builder>>Import
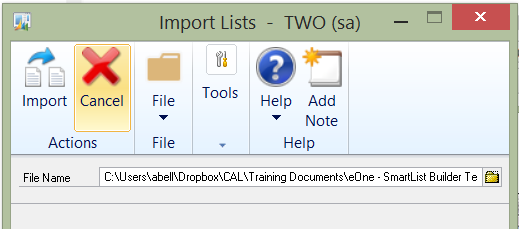
- This screen will open.
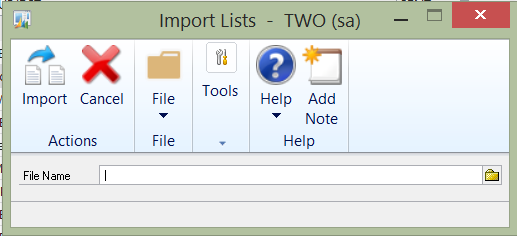
- Click on the folder and find the template.
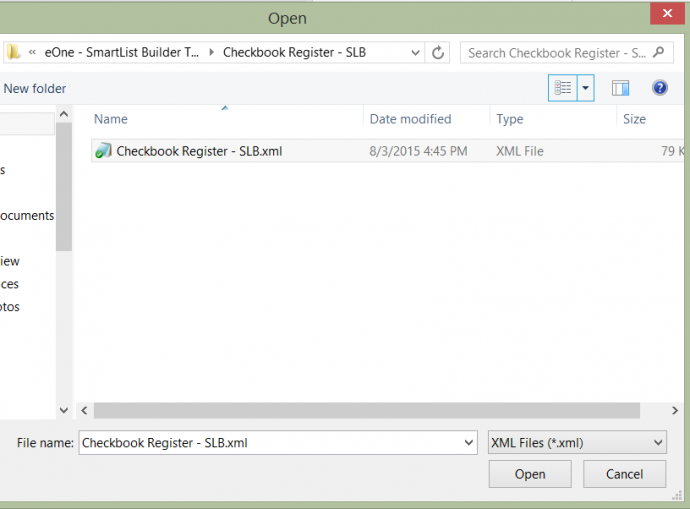
- Click Open
- Click Import
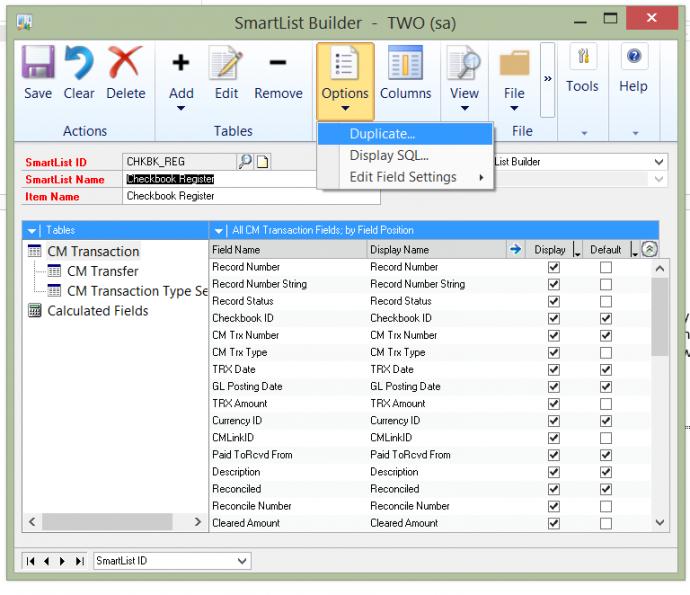
Duplicating an Imported SmartList Template
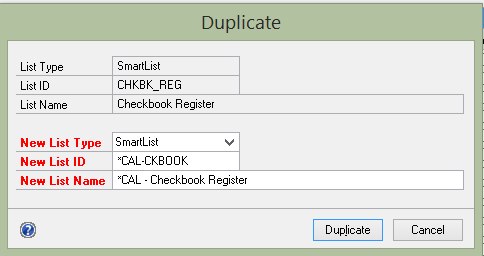
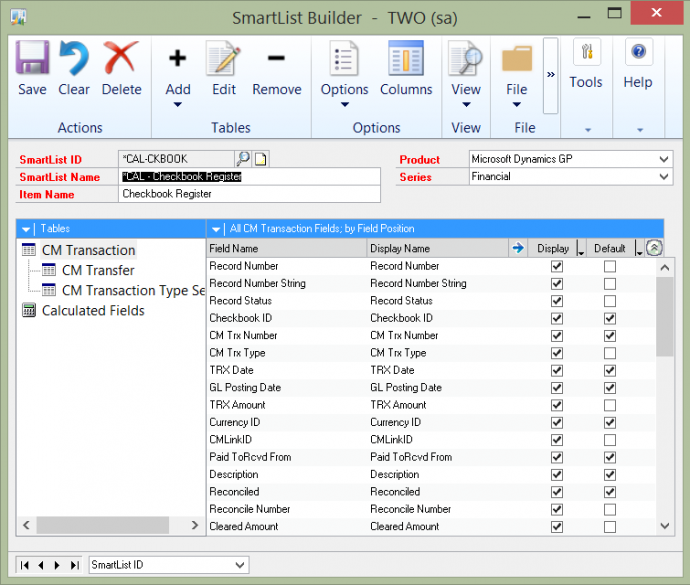
Before making changes to the imported template, we suggest using the “Duplicate” function to create a copy. This allows you to have a customized name and protects the template so that you can try out different calculations and filters without breaking the template. If you do end up “breaking” the template, you can re-import. Just know that it will overwrite ALL of the work you might have done. That is why duplicating and testing is recommended.
To Give Access to the Report
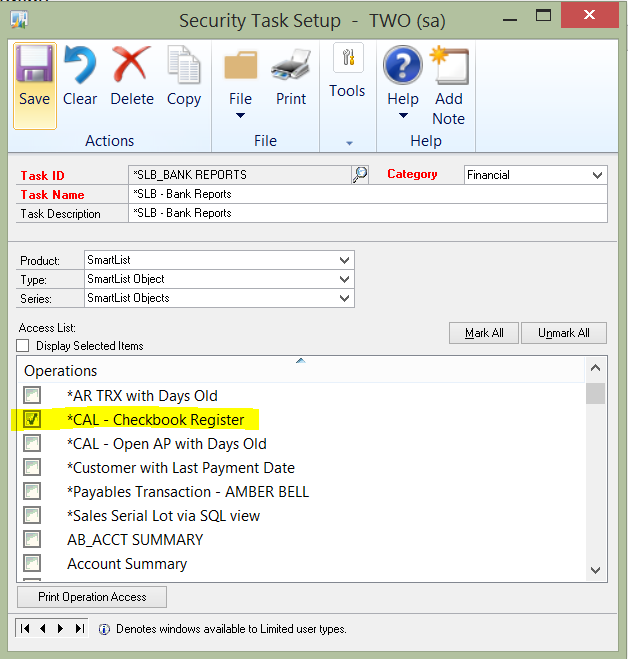
Step 1: Create Task
- Administration>>Setup>>System>>Security Tasks
- Enter Task ID (This is up to you. I always start with an “*” to flag them as custom tasks. Below I used: “*SLB_BANK REPORTS”)
- Enter Task Name (This is up to you. I always start with an “*” to flag them as custom tasks. Below I used: “*SLB – Bank Reports”)
- Select the Category (This is up to you. Example: If it is only SLB reports for Financial, choose Financial.)
- Product: SmartList
- Type: SmartList Object
- Series: SmartList Object
- Check the box next to the reports you want to grant access to.
Step 2: Create New Role
Tip: If you want to assign to a “Pre-Defined Role”, it is recommended that you create a New Role that is a copy of the pre-defined role.
- Administration>>Setup>>System>>Security Roles.
- Enter a new Role ID.
- Click “Copy”.
- Select role you want to copy.
- Click Select
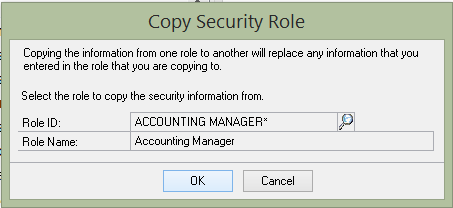
- Click OK
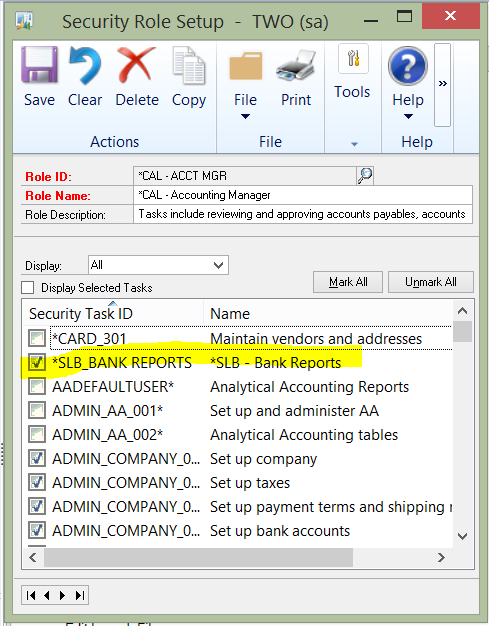
- Edit the Role Name (Example below: *CAL – ACCT MGR)
- Check the box next to the new “Task” you created:
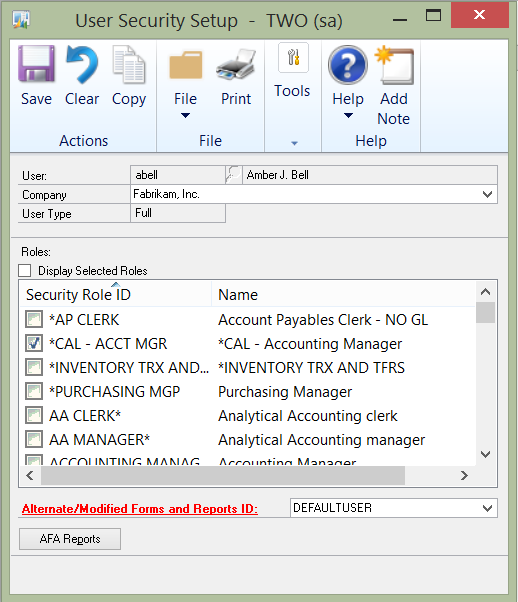
- Open User Security and assign the new role to the users that you want to give access to the report.
By, Amber Bell, CAL Business Solutions


